A while back I found a pair of suit pants that were a lovely wool and cashmere blend.
Since I don't have a need for suit pants and these had acquired a couple of small holes I decided to take advantage of the material. (Using
this tutorial which gives excellent directions on deconstructing pants, Jeans specific but applicable.) Soft, slightly fuzzy and warm makes for good scarf material. This was also an opportunity to experiment with quilting since I had some batting left over from a project that will become a post soon.
And since I am trying to use up at least part of my hoarded material I grabbed this chunk of lovely cotton in a green, grey and white stripe.
The first thing I had to do was trim the wool pieces and decide the width of the piece. I cut them at 7 inches wide and cleaned up the ends without removing any more length than necessary.
Matched up the ends and joined all 4 pieces with a simple straight stitch. Decided to be a little more detail oriented than I am normally so I busted out with the iron and pressed the seams.
Trimmed 2 sections of the green at approximately 8 inches wide and connected them to match the nearly 8 foot length of wool I was now working with. Laid those out with the batting to make a sandwich and pinned in a few places. Could have used more pins but I have issues stabbing myself with them.

Stitched using my sewing machine all the way around leaving this opening for turning. For reference, the wool is wrong side up between the right side up green and the batting. The opening is around 6 inches so I could put my hand into it to aid the turning. After the stitching I trimmed the hem to about 1/4 inch to reduce the bulk of the scarf edge. Turned it right side out, folded the seam allowance of the opening to the inside and pinned it shut. At this point I suggest that if you want to press the edges to make it a little neater and easier to sew, try to remember to check the heat on your iron to avoid completely flattening the acrylic batting. I managed to have it up a bit high and flattened the first 6 inches before I realized what was going on. Once you are ready, top-stitch around the edge. I chose to use the edge of my machines foot as a guide. you can use a ruler and disappearing ink sewing marker to then add whatever quilting designs to the interior you choose. Since this was an experiment I just went with straight lines.


It turned out to be around 6 inches wide and almost 8 feet long. I am very happy with it though if I make another one I will try to see if I can pin it more securely without bleeding on it.
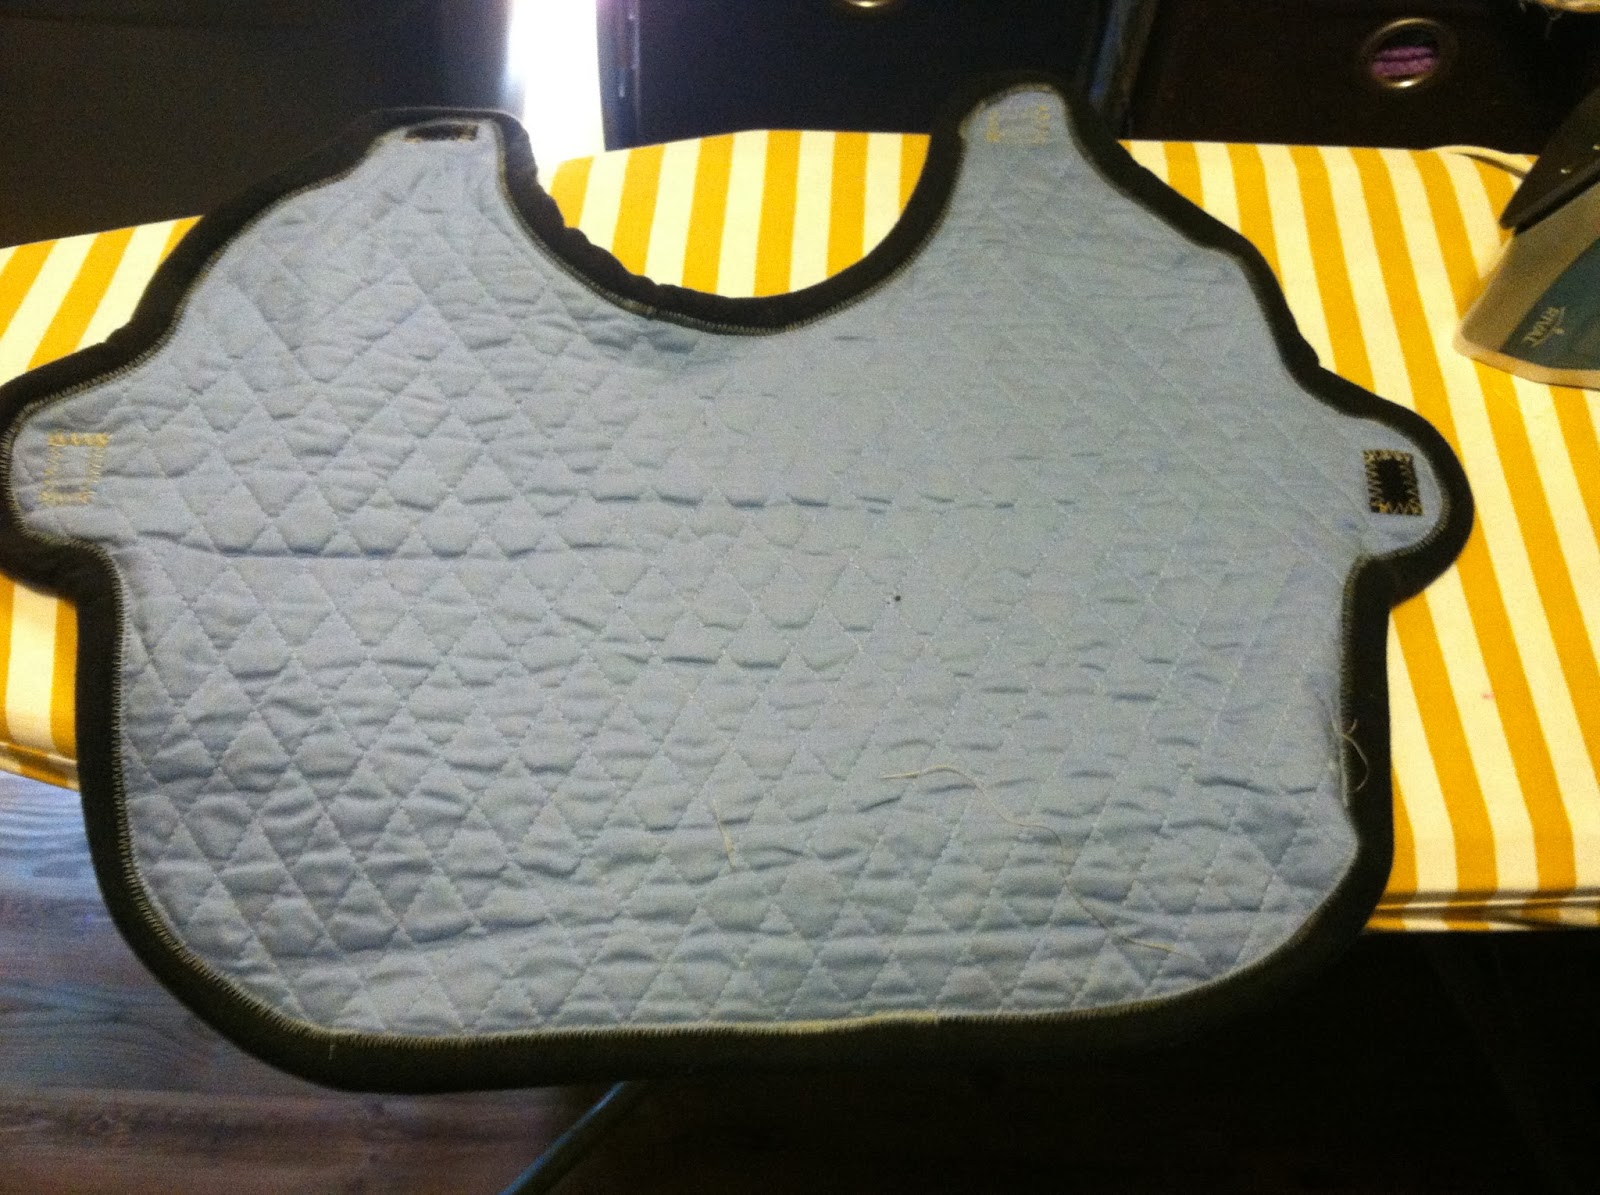
As for the Completed Project, I finally finished the second dog coat I have been (procrastinating) working on for my Mom.
This is a link to one of the tutorials that I referenced and
this is another one that might be useful. This
page has links to many tutorials as well though I have not clicked through them all. Here is the finished coat for Little Mr. Harry.
Wishing you all joy and peace in the coming year.


No comments:
Post a Comment